It’s been a little over two weeks since the 6.2 release, and Island Sanctuary is a lot less of a secret than it used to be. As promised in my Island Sanctuary rank 1 to 6 guide, I’m back with another one, this time covering a few tips and tricks to help you along the way to rank 10. This is not a super comprehensive guide, as I didn’t train as hard for the flower smelling competition, but a few casual-friendly reminders definitely can’t hurt!
This might be something you’re aware of already, but facing the pain of a rare animal despawning as you realize you don’t have enough nets and have to quickly circle the Island and collect mats for the restraints is just devastating. If you know you’re going to be hunting for animals, have at least 10 of them sitting in your inventory, and try not to run out of mats needed to create them in case your RNG is bad.
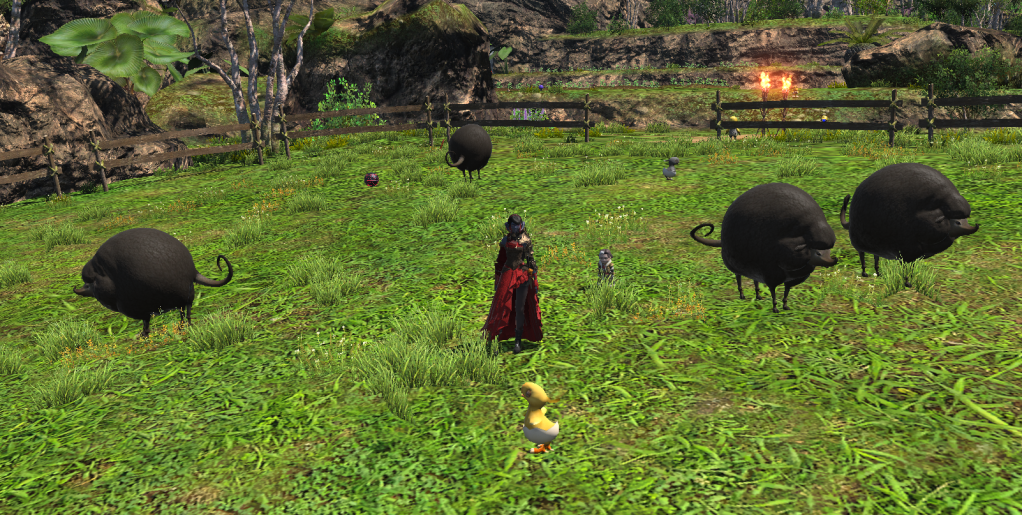
Also, when you’re catching new animals, never have 20 of them filling out all your Pasture slots while being cared for by your Mammet caretaker. If you catch another animal, you will not be able to release any of the ones you have in your Pasture, and this will force you to release the one you just caught – yes, regardless of its rarity, as the game doesn’t care if you’ve got yourself a Twinklefleece or an Alligator!
When you’re feeding your animals, make sure you’re not doing it within the first hour after the daily reset when the leavings are gathered. Even if you do it within that first hour, it will count as though you did it the moment the reset happened, and the mood of your animals will automatically deplete by the time the next reset comes around and you’ll get less leavings than you were hoping for!
I’d say one of the most important tips on this journey is to send targeted Granary expeditions to Wild Woods and Fatal Falls, as they’ll award you with the rare materials necessary to unlock rank 3 Workshop and Granaries. You’ll need 3 Garnets for all 3 Workshops, so 9 overall, and 3 Spruce Logs for each of your Granary upgrades – so 6 overall. As soon as you unlock Granaries, do those missions as this is the only way to not be timegated with building upgrades and raising your Island Sanctuary rank.
There is a neat trick for gathering in all those notes that are clustered and far away from the rest of the nodes that you can use to trigger the respawn. All you need to do is queue for a duty, something like an unsynced trial, enter the instance and abandon it. This will spawn you back into your Island Sanctuary, with refreshed nodes for you to gather on, without having to circle around and proc their respawn mechanically.

When it comes to the crops, even though growing two kinds will enable you to craft premium feed for your animals, you want to actually purchase the seeds from your Mammet crop caretaker guy and have a variety. This will enable you to expand your crafting repertoire in the Workshop as there are valuable recipes that can only be crafted with those particular plants, so don’t worry about spending a few extra cowries on getting different seeds!
If you’re scheduling your tasks in the Workshop, it’s a good idea to not start your cycle with an item that is more rare, harder to make, and that will get you more Cowries in general. As you can see, the efficiency bonus is applied for the second item of the cycle, and every item after that, so make sure you start the cycle with something of less importance, but from within the same category!
I don’t have that much more to share when it comes to the Island, but I hope these two guides have been useful. If you’re more of a visual person, and you don’t mind getting easy wins in-game, you can check out all of this in my video – and subscribe for more awesome FFXIV stuff!





Leave a comment